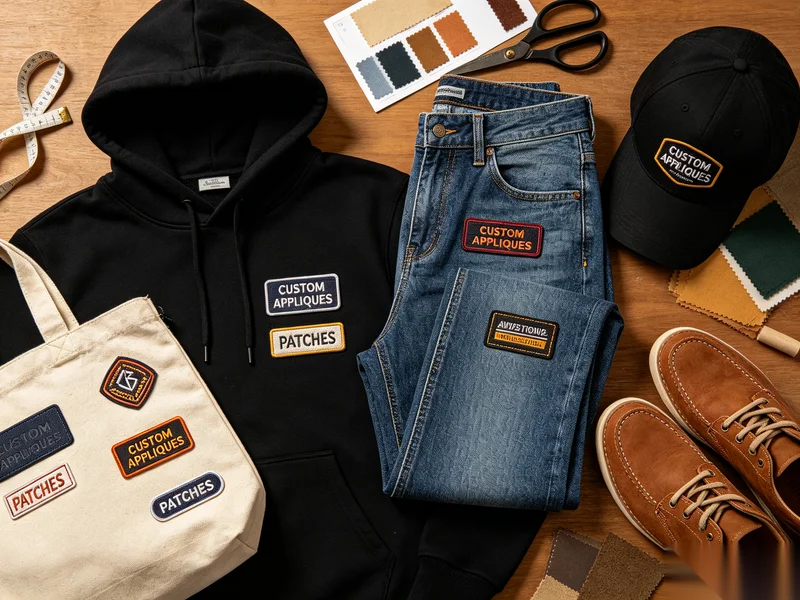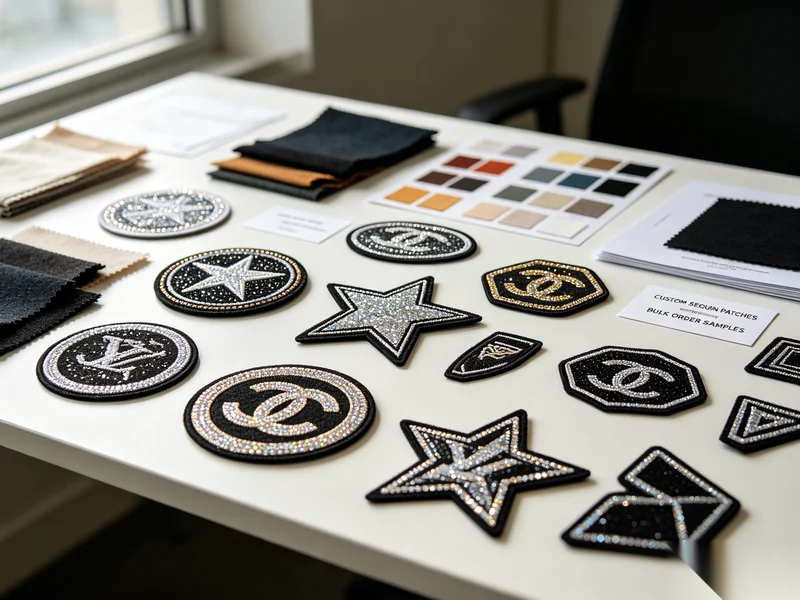
Search for how to make your own embroidered patches, and you’ll usually find hobby tutorials. But there are two very different paths behind this question:
- DIY at home for small personal use
- Developing a patch design that is ready for bulk manufacturing
If you’re building a brand, club, school program, or merchandise line, understanding both paths helps you move from concept to scalable production efficiently.
Part 1: The DIY Method (Small Quantity / Personal Use)
If you’re experimenting or creating samples, here’s the basic at-home approach.
Step 1: Create Your Design
Keep the artwork simple:
- Bold shapes
- Limited color palette
- Clear outlines
- Minimal tiny text
Embroidery doesn’t handle ultra-fine detail well without professional digitizing.
Step 2: Choose Base Fabric
Common base fabrics include:
- Twill
- Felt
- Cotton canvas
Twill is most common because it holds stitches firmly and resists distortion.
Step 3: Stabilize the Fabric
Use embroidery stabilizer beneath the fabric to prevent puckering. This step is critical for clean stitch results.
Step 4: Embroider the Design
Using an embroidery machine (or hand stitching for small crafts), complete the design. Machine embroidery offers consistency; hand embroidery gives character but less precision.
Step 5: Cut the Patch Shape
Options include:
- Scissors (for simple shapes)
- Rotary cutter
- Heat cutting (prevents fraying on synthetic fabric)
Step 6: Finish the Edge
You can:
- Satin stitch around the border
- Use a merrow edge (requires specialized machine)
- Seal edges with backing adhesive
Step 7: Add Backing
Choose based on purpose:
- Iron-on adhesive
- Sew-on only
- Velcro backing
For durability, stitching is always the safest method.
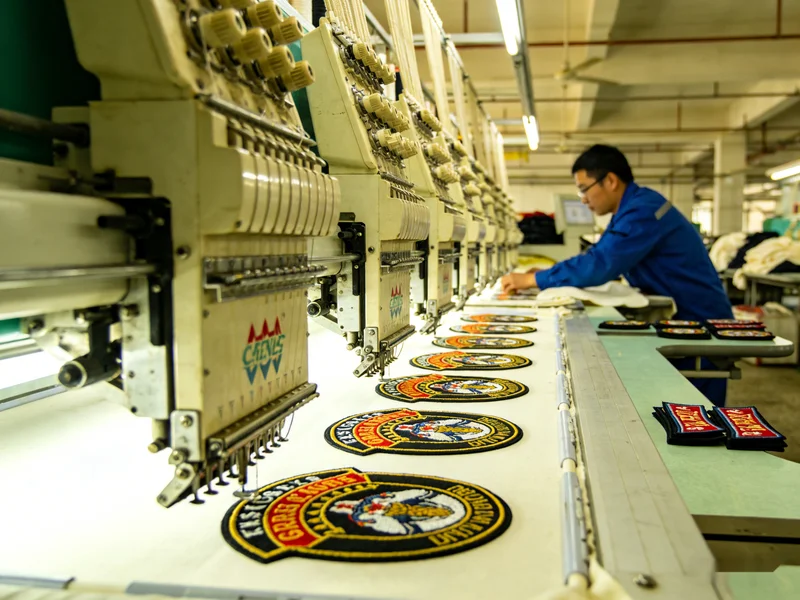
The Limits of DIY Patches
While making your own embroidered patches is creative and rewarding, DIY has limitations:
- Inconsistent stitch density
- Limited color thread control
- No industrial edge finishing
- Lower wash durability
- Time-consuming production
For personal crafts, that’s fine. For selling, scaling becomes challenging.
Part 2: Turning Your DIY Idea into Bulk Production
If your goal is to sell patches, supply uniforms, or launch merchandise, the process changes.
Professional Digitizing
Your artwork must be converted into embroidery stitch files. This ensures:
- Clean stitch direction
- Balanced thread density
- Reinforced small text
- Optimized production speed
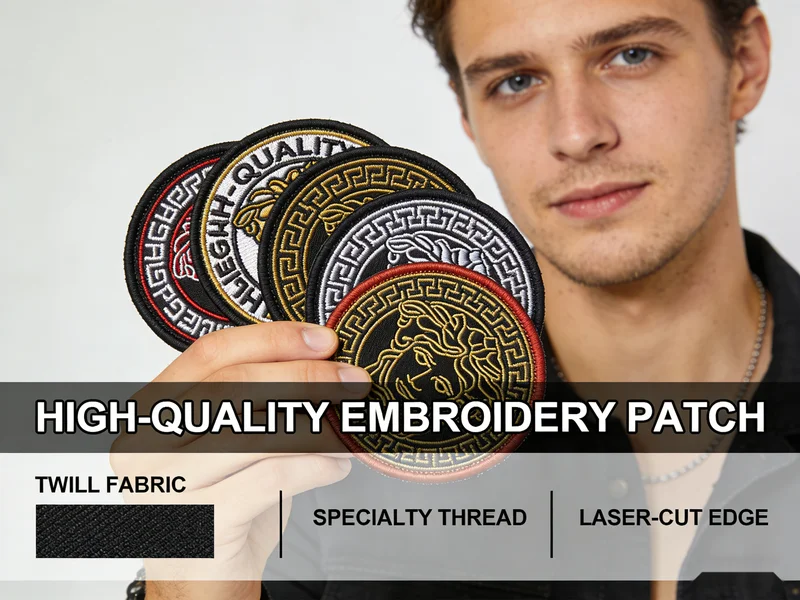
Material Selection
Industrial patch production offers:
- High-grade twill
- Specialty threads
- 3D puff embroidery
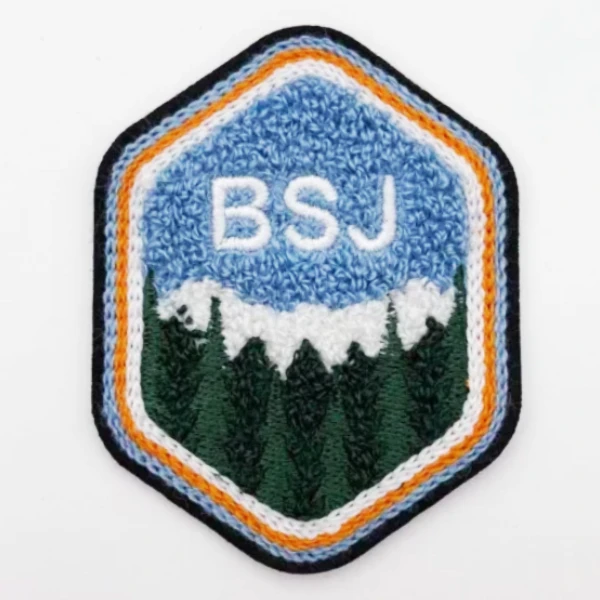
- Chenille options
- Laser-cut borders
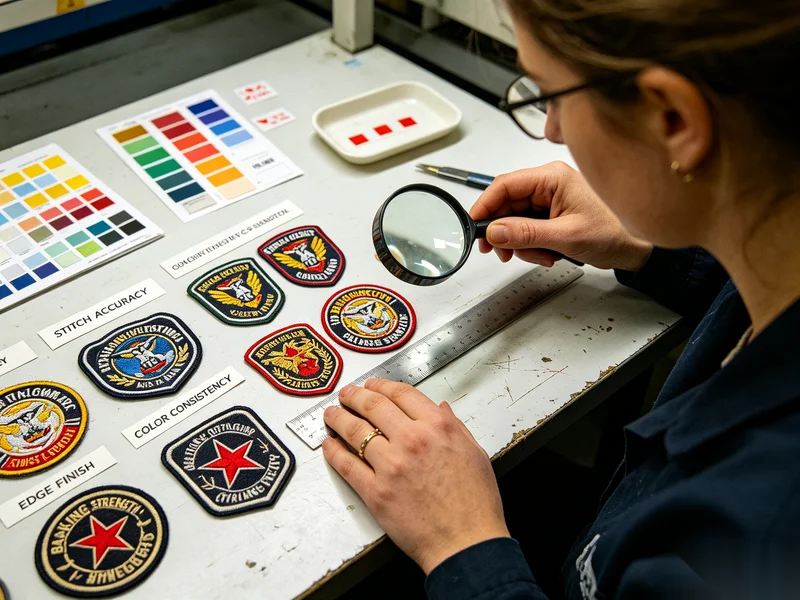
Consistency at Scale
Bulk manufacturing ensures:
- Uniform sizing
- Consistent color matching
- Stable backing adhesion
- Clean merrowed edges
This is critical for brand credibility.
Design Tips Before You Produce at Scale
If you’re starting from a DIY concept, refine it:
- Simplify overly complex details
- Increase line thickness where needed
- Remove unnecessary gradients
- Ensure contrast between thread and base fabric
What looks good on screen may not translate directly into embroidery.
Choosing the Right Backing for Your Purpose
Different uses require different backing types:
- Sew-on → Maximum durability
- Iron-on → Efficient application
- Velcro → Interchangeable use
- Adhesive → Temporary placement
Backing choice should match end use, not just convenience.
Cost Considerations
DIY:
- Low upfront cost
- High time investment
- Limited output
Bulk Production:
- Higher initial MOQ
- Lower cost per unit
- Professional finish
- Scalable growth
For businesses, production efficiency quickly outweighs DIY savings.
When to Move from DIY to Professional
You should consider scaling when:
- You receive repeat orders
- Stitch quality affects your brand image
- You need consistent sizing
- You want to sell in retail environments
- Production time becomes overwhelming
DIY is great for prototyping. Professional manufacturing is essential for growth.
Final Thoughts
Learning how to make your own embroidered patches is a great starting point. It helps you understand structure, texture, and stitch behavior.
But if your goal is commercial success, the real step isn’t just making patches — it’s engineering them for consistency, durability, and scale.
Start with creativity.
Grow with precision.
About Author
——————————————————————————————————————————————

Alexander
Online Sales Manager
Alexander specialize in digital marketing and understanding customer psychology, providing clients with the right solutions through data insights and creative strategies.
——————————————————————————————————————————————