To embroider patches, you prepare a design, secure fabric with stabilizer, stitch the design using embroidery techniques or machines, cut the patch into shape, and finish it with a border and backing. This process works for both DIY embroidered patches and scalable custom production.
Quick Overview of How to Embroider Patches
| Step | Description |
|---|---|
| 1 | Prepare or digitize your design |
| 2 | Choose fabric, thread, and stabilizer |
| 3 | Hoop the fabric securely |
| 4 | Stitch the design (hand or machine) |
| 5 | Cut patch into shape |
| 6 | Add border and backing |
This workflow applies whether you’re making a single DIY patch or planning bulk manufacturing.
What Does It Mean to Embroider Patches?
Answer:
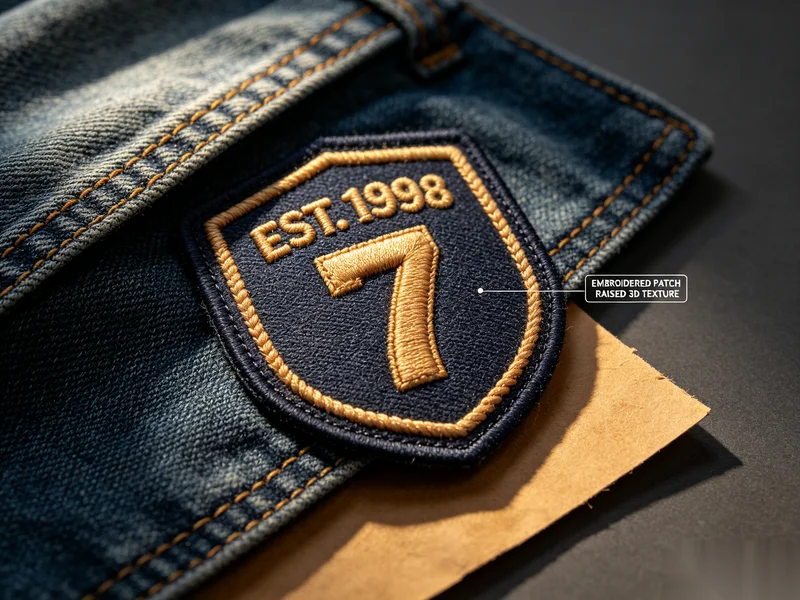
Embroidering patches means creating decorative designs on fabric using thread stitching, then turning that fabric into a standalone patch that can be attached to clothing or accessories.
Patches are commonly used for:
- Clothing brands
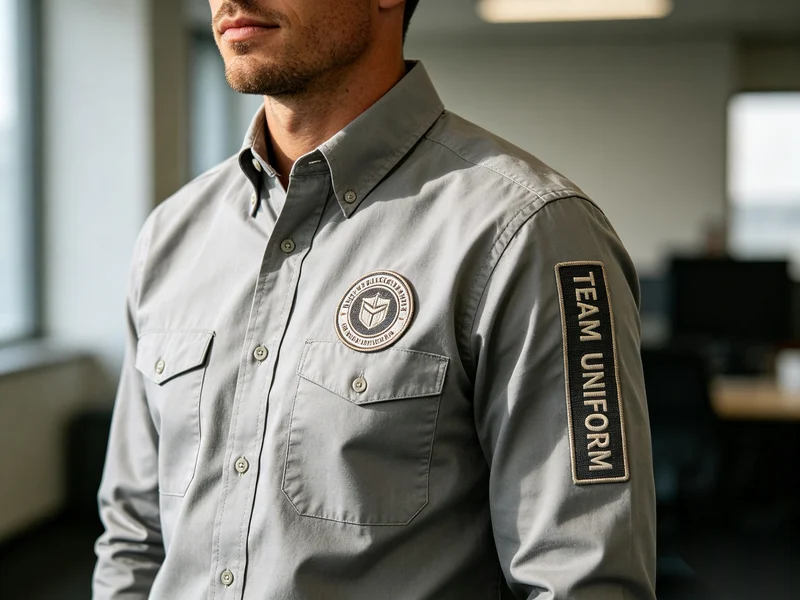
- Uniforms
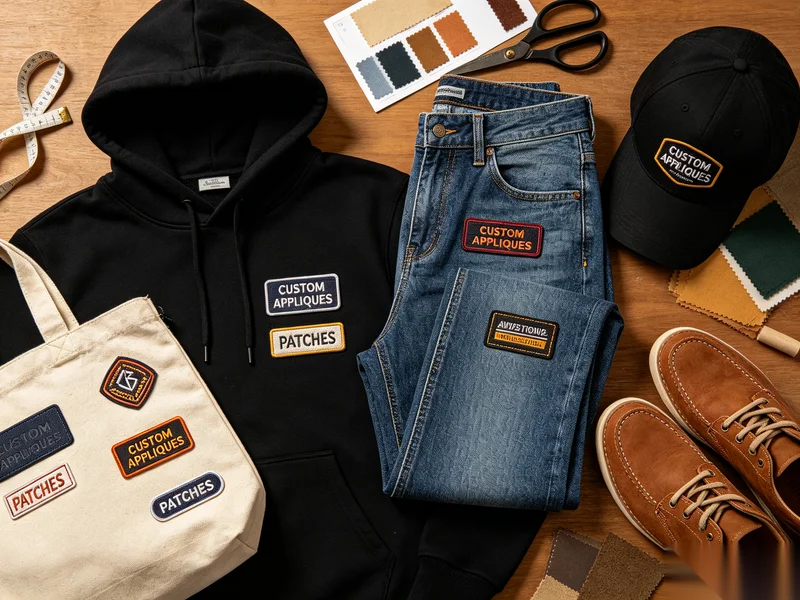
- Hats and bags
- DIY fashion projects
- Promotional products
The process can be done by hand for small projects or by machine for professional and bulk production.
What Materials Do You Need to Embroider Patches?
Answer:
Before starting, it’s important to prepare the right materials to ensure quality results.
Basic Materials
- Base fabric: Twill, felt, or cotton
- Embroidery thread: Polyester or rayon
- Embroidery needle or machine
- Stabilizer: Keeps fabric firm during stitching
- Embroidery hoop
- Scissors or cutting tools
Optional Materials
- Heat-activated backing (for iron-on patches)
- Adhesive backing
- Border thread for edging
Using the right materials helps improve durability and appearance.
Step-by-Step: How to Embroider Patches
Answer:
Follow these steps to create high-quality embroidered patches.
Step 1: Prepare Your Design
Start with a clear design or logo.
- For hand embroidery: draw or trace the design onto fabric
- For machine embroidery: digitize the design into a stitch file
Keep designs simple if you are a beginner, as very fine details are harder to stitch.
Step 2: Secure Fabric with Stabilizer
Place stabilizer behind your fabric to prevent wrinkles or distortion.
Then hoop the fabric tightly using an embroidery hoop. This ensures smooth stitching and better accuracy.
Step 3: Stitch the Design
Answer:
Now begin embroidery.
Hand Embroidery Techniques
- Satin stitch (for filling shapes)
- Backstitch (for outlines)
- Chain stitch (for decorative lines)
Machine Embroidery
- Load the digitized file
- Select thread colors
- Let the machine stitch automatically
Machine embroidery is faster and more consistent, especially for multiple patches.
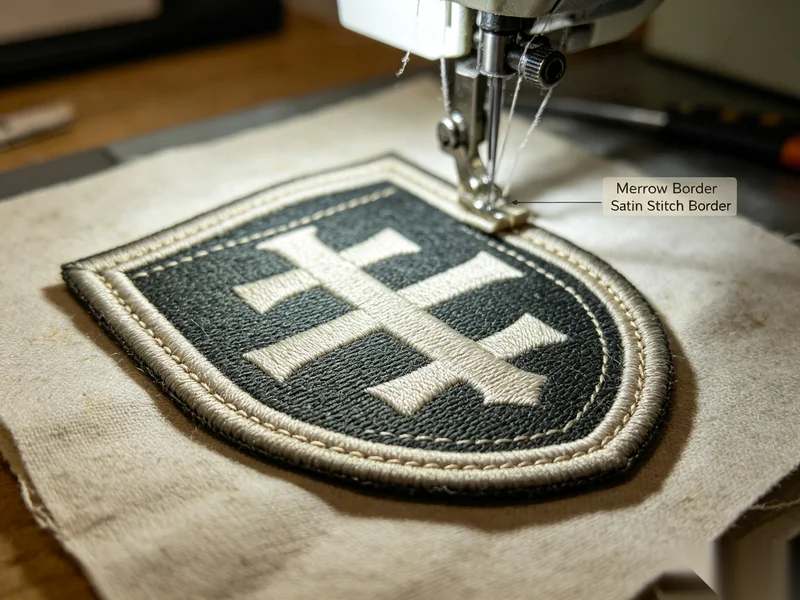
Step 4: Create the Patch Border
After completing the design, add a border to define the patch shape.
Common border types:
- Satin stitch border (smooth and clean)
- Merrow border (thick, rounded edge)
This step improves durability and gives the patch a professional look.
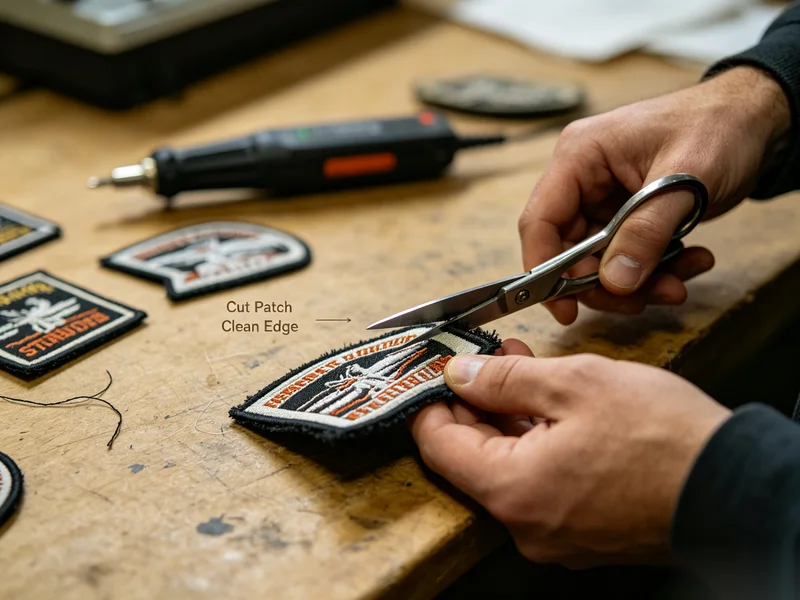
Step 5: Cut the Patch
Carefully cut around the design.
Options include:
- Manual cutting (scissors)
- Heat cutting (prevents fraying)
- Laser cutting (for precision)
Make sure edges are clean and even.
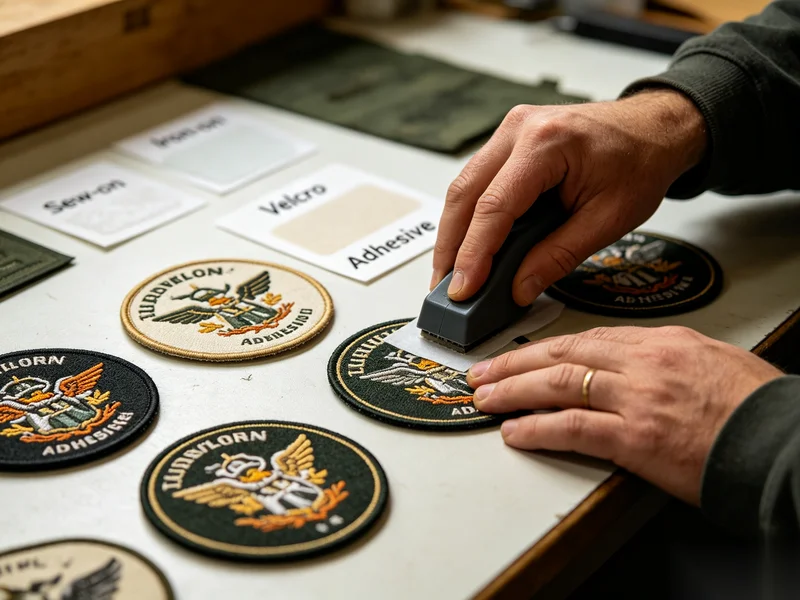
Step 6: Add Backing
Answer:
Finally, apply the desired backing.
Common Backing Types
- Sew-on: most durable
- Iron-on: heat-activated adhesive
- Velcro: removable patches
- Adhesive: temporary use
The backing determines how the patch will be attached to products.
What Is the Difference Between DIY and Professional Patch Embroidery?
Answer:
| Feature | DIY Embroidery | Professional Manufacturing |
|---|---|---|
| Equipment | Hand tools or small machines | Industrial embroidery machines |
| Output | Small quantity | Bulk production |
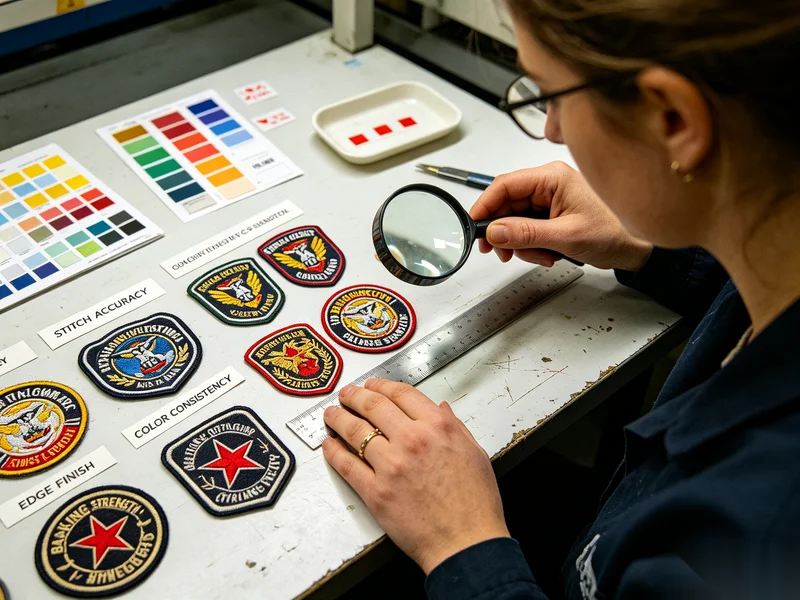
| Consistency | Varies | Highly consistent |
| Speed | Slower | Fast and scalable |
| Cost | Low upfront | Cost-efficient in bulk |
DIY methods are ideal for small projects, while businesses prefer professional production for consistency and scale.
Tips for Better Embroidered Patches
Answer:
Keep Designs Simple
Avoid very small text or overly complex patterns, especially for beginners.
Choose the Right Fabric
Twill is the most popular choice because it holds stitches well.
Use Quality Thread
Good thread improves color, durability, and finish.
Test Before Production
Always create a sample patch before making multiple pieces.
How Can Businesses Use Embroidered Patches?
Answer:
Businesses use embroidered patches to enhance branding and product value.
Apparel Branding
- Add logos to jackets, hoodies, and uniforms
Product Customization
- Create limited editions or seasonal collections
Promotional Use
- Distribute branded patches for marketing campaigns
Private Label Production
- Apply patches during final garment assembly
Can Beginners Easily Learn How to Embroider Patches?
Answer:
Yes, beginners can learn how to embroider patches with basic tools and practice.
Start with:
- Simple shapes
- Few thread colors
- Basic stitches
As skills improve, more complex designs and techniques can be used.
Frequently Asked Questions About How to Embroider Patches
1. What is the best fabric for embroidered patches?
Twill and felt are the most commonly used because they provide good support for stitching.
2. Can I make embroidered patches without a machine?
Yes, hand embroidery is possible, but it takes more time and skill.
3. How do I prevent fabric from puckering?
Use stabilizer and keep the fabric tightly hooped.
4. What is the best backing for beginners?
Iron-on backing is easy to apply and convenient.
5. How long does it take to make a patch?
It depends on design complexity and method (hand vs machine).
6. Can embroidered patches be washed?
Yes, high-quality patches are durable and washable when properly attached.
Conclusion
Learning how to embroider patches gives both beginners and businesses a practical way to create custom textile designs. From preparing the design to stitching, cutting, and finishing, each step plays an important role in the final quality.
For small DIY projects, hand embroidery offers creative flexibility. For brands and manufacturers, professional production ensures consistency, efficiency, and scalability. Whether for personal use or bulk orders, embroidered patches remain a versatile and effective solution for customization and branding.
About Author
——————————————————————————————————————————————

Alexander
Online Sales Manager
Alexander specialize in digital marketing and understanding customer psychology, providing clients with the right solutions through data insights and creative strategies.
——————————————————————————————————————————————